Creating Captivating Underwater Images on a Budget
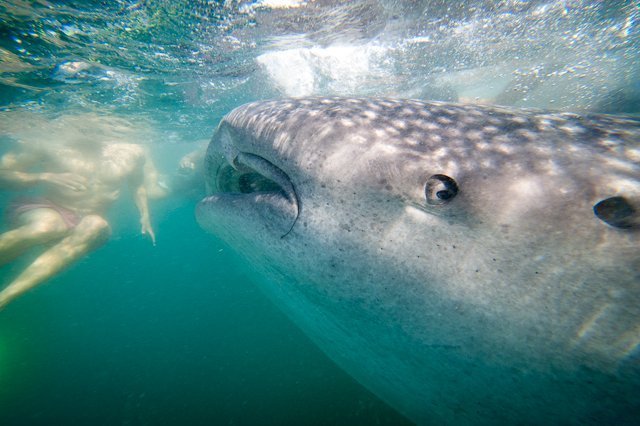
Getting your camera into the water doesn’t have to entail purchasing an expensive housing that one might think is necessary. I recently did some research on alternatives to hard casings that would allow you to get your SLR camera into the water. I came across a few different companies offering durable plastic casings that I thought I would try out.


Using a plastic casing basically allows you to submerge your camera up to 10 meters of depth, allowing you to photograph from fresh new angles. It’s not designed for serious underwater professionals, as there is no way to place a strobe with this type of casing. However, if you only want to shoot with natural ambient light, this might be a great option.
I have had my plastic casing for a few months now and haven’t had any problems with leaks or malfunctions. It has proven to be very durable. It has been well worth the $100 I spent on this casing and it has allowed me to get pictures I would have otherwise not been able to.
Having the best tools can certainly help us in our image making, but it shouldn’t stop us from doing what we love to do. That is to take beautiful images!


Some Technical Tips:
1. When using a plastic underwater casing I have found it best to shoot with a wide angle lens. This allows you to capture as much of the surroundings as possible. I also generally like to get close to my subjects, so a wide angle allows me to do this.
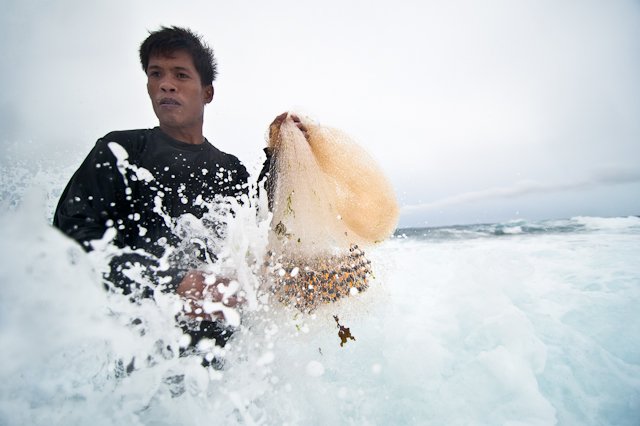
2. Try shooting with a faster shutter speed which allows for compensation of water movement. If you are shooting in Aperture Priority, you may need to raise your ISO in order to get a faster shutter speed.
3. Shoot in continuous mode. This will allow you to get more photos off in order to capture the perfect expression/timing of your subject.

email: [email protected] |
© 2026 Jacob Maentz
